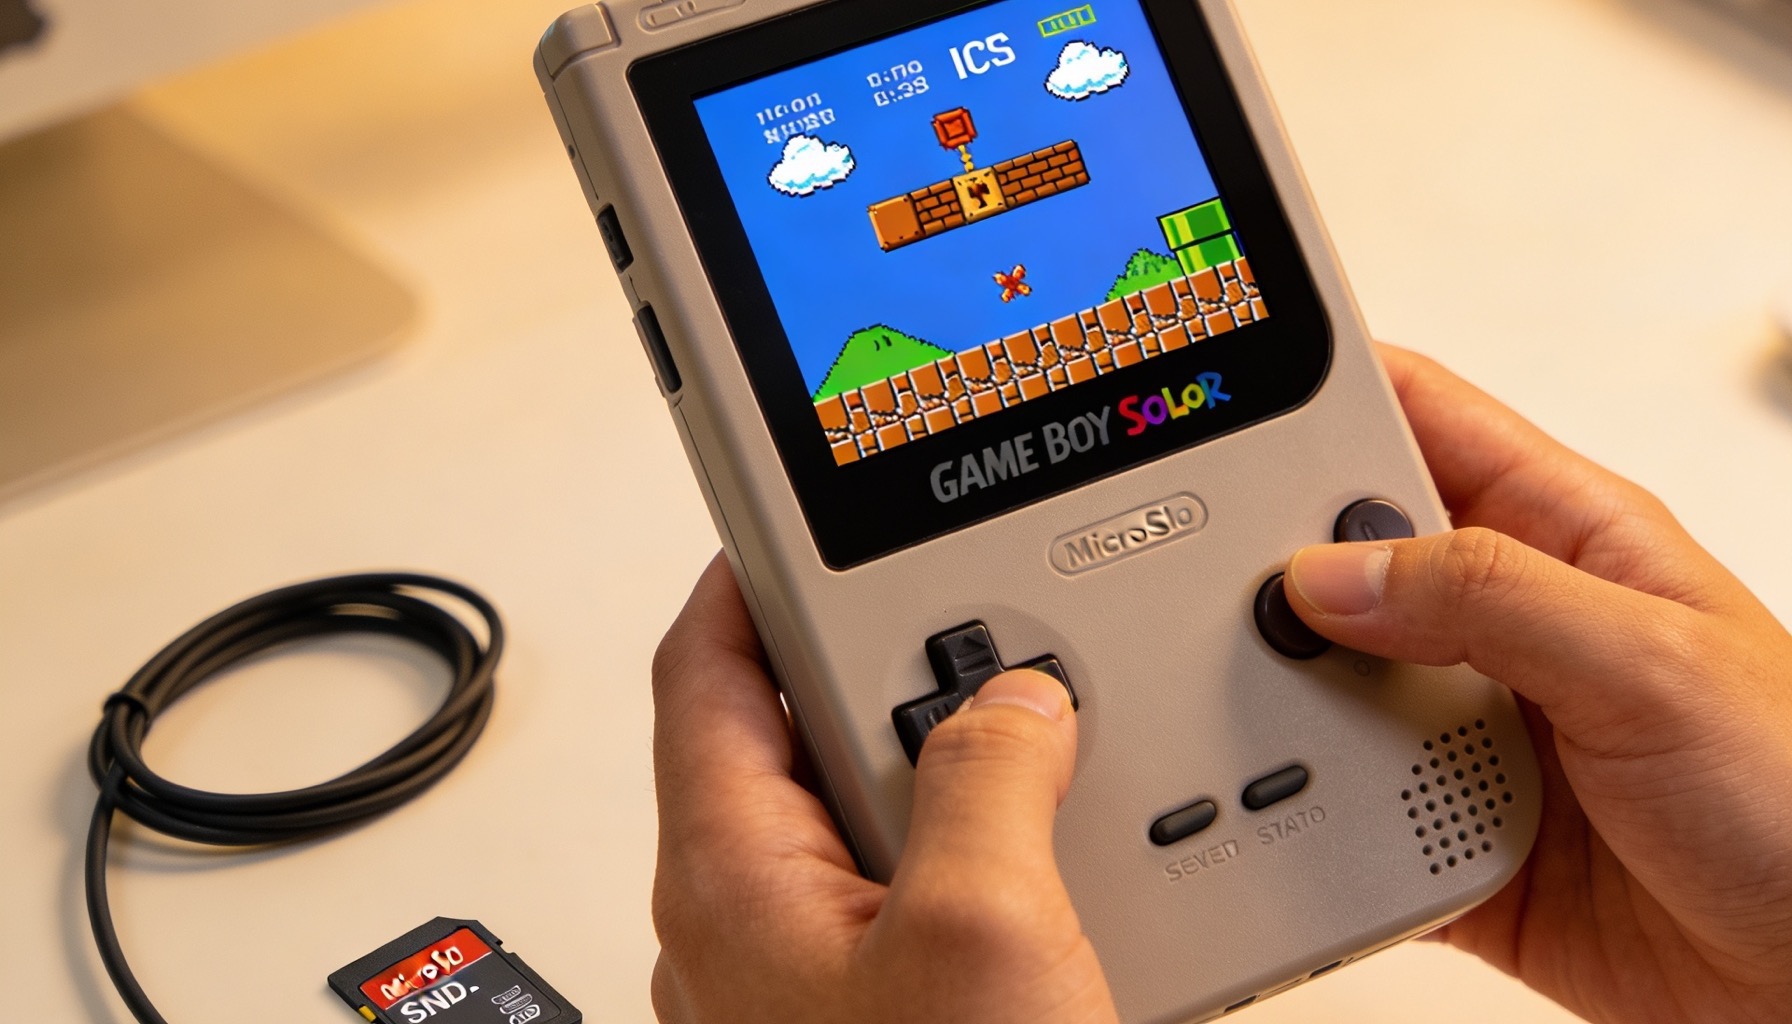
So your R36S has arrived, and you are itching to start playing. The good news is that the R36S is one of the most beginner-friendly retro handhelds out there — it comes pre-loaded with over 40,000 games and is designed to work straight out of the box. There is no PC required, no files to download and no complicated setup.
That said, a few minutes of preparation will make your experience far smoother. This guide walks you through everything from your very first charge to saving your progress and fixing the most common first-day hiccups.
Step 1: Charge It First
Before you do anything else, plug your R36S in and let it charge. It ships with a USB-C cable in the box, and you can use any standard 5V phone charger or a laptop USB port to power it.
A few tips for that first charge:
- Charge it for at least 2–3 hours before your first proper session so the 3500mAh battery is topped up.
- A small red light usually indicates charging; it turns off or goes green when full.
- You can play while charging, but a full battery gives you the best first impression of the 6+ hour runtime.
Step 2: Check the SD Card
The R36S runs everything — its firmware and its entire game library — from a microSD card. Your GameBro R36S comes with a 128GB card already inserted and pre-loaded, so in almost every case you do not need to touch it.
If your device does not boot, the first thing to check is that the SD card is seated properly. There are two card slots on the R36S:
- The bottom (TF1) slot — holds the system card with the firmware and games. This is the one that comes pre-loaded.
- The second slot — optional, used to add a second card with extra games if you ever want to expand your library.
If you ever remove the card, always power the device off first. Pulling a card while it is running can corrupt your saves.
Step 3: Power On and Meet the Menu
Hold the power button on the top of the device for a couple of seconds. The R36S runs a custom Linux-based firmware (an ArkOS / muOS-style system), which boots into a clean, console-style menu.
You will see your games grouped by system — PlayStation, SNES, Game Boy Advance, Mega Drive, Arcade and so on. Navigation is simple:
- D-pad left/right — switch between consoles/systems.
- D-pad up/down — scroll through the games in that system.
- A button — launch a game or confirm.
- B button — go back or cancel.
Pick any game and press A. Within a second or two you will be playing a genuine classic. That really is all there is to getting started.
Step 4: Learn the In-Game Hotkeys
The most important thing to learn on any retro handheld is the hotkey menu. While you are in a game, pressing a button combination opens an overlay where you can save, load, adjust settings and exit. On the R36S the key combos are:
- Function (FN) + R shoulder — quick save your current spot.
- Function (FN) + L shoulder — load your last quick save.
- Function (FN) + Start — exit back to the menu.
- Function (FN) + Volume buttons — adjust brightness.
These combinations can vary slightly depending on the exact firmware version, so it is worth opening the in-game menu (often FN + Select or holding the hotkey button) to confirm the mapping on your unit. The on-screen menu always shows the correct combo.
Step 5: Understand Saving (This Is Important)
There are two ways to save on the R36S, and understanding the difference will save you a lot of frustration:
- Save states — a snapshot of the exact moment you are in. Created with the hotkey combo above. Instant, and works in any game, even ones that never had a save feature. Perfect for picking up exactly where you left off.
- In-game saves — the game's own save system (e.g. saving at a save point in a Final Fantasy game). These work just like they did on the original hardware.
The golden rule: always exit a game using the hotkey menu (FN + Start), not by simply switching the device off. Exiting cleanly ensures your save data is written to the SD card. If you flick the power switch mid-game, you risk losing your last save.
Step 6: Tweak the Settings to Your Taste
Out of the box the R36S is set up sensibly, but a few quick tweaks make it even better:
- Brightness — the 3.5-inch IPS screen is bright, so you can usually turn it down a little to extend battery life.
- Aspect ratio / scaling — in the per-game menu you can choose between sharp pixel-perfect output or a smoother scaled image. Try both and see which you prefer.
- Scanline / shader filters — if you want that authentic CRT TV look, many emulators include shaders that mimic old television scanlines.
- Sleep mode — a quick tap of the power button puts the device to sleep so you can resume instantly without losing your place.
Troubleshooting Common First-Day Problems
If something is not quite right, do not panic — the fixes are almost always simple.
The device will not turn on
Charge it for 30 minutes first; a flat-out-of-the-box battery sometimes needs a moment before it responds. If it still will not boot, power it off and reseat the SD card in the bottom slot.
It boots to a black screen or freezes
This is nearly always an SD card that has worked slightly loose in transit. Switch off, gently push the card in until it clicks, and power back on.
A specific game runs slowly
More demanding systems (PSP, Dreamcast, N64) push the hardware harder than SNES or Game Boy games. Enabling frameskip in that game's emulator menu usually smooths things out. The R36S comfortably handles up to PS1, N64 and Dreamcast-era titles — lighter systems run flawlessly.
The controls feel wrong in one game
Open the in-game menu and check the controller mapping for that emulator. Some arcade and computer-era games use unusual layouts that you can remap to suit you.
Where to Buy (and Why It Matters)
One quick note for anyone still deciding. A lot of cheap R36S clones are shipped directly from China, and they can take weeks to arrive — often turning up with a faulty SD card, a dead pixel screen, or simply not working at all. By the time you have wrestled with a refund, you have lost a month.
At GameBro we keep every console in UK stock and dispatch your order for delivery in just 2–3 days. Each unit is checked and comes pre-loaded and ready to play, with a free protective hardcase included. If anything is not right, you are dealing with a UK seller, not chasing an overseas listing.
You can pick your colour and see full specs on the R36S product page, or step up to the R36S Ultra if you want WiFi, Bluetooth and stronger performance for PSP and Dreamcast.
You're Ready to Play
The R36S is built to be picked up and enjoyed. Charge it, power it on, pick a game, and learn the save hotkey — that is genuinely all you need to know to start.
Once you are comfortable, dig into our 50 Best Games to Play on Your R36S for a curated list of where to start. And if you have not bought yet, browse the full range over at the GameBro shop — all in UK stock, delivered in 2–3 days.
← Back to Blog